
Polyurethane (PU) Sealant: Uses, Benefits and Application Tips
Polyurethane (PU) sealant is a flexible sealing material used to fill joints, gaps and cracks in buildings, vehicles and industrial equipment. It forms a durable bond with many common surfaces and can accommodate movement caused by vibration, temperature changes or structural settling. These qualities make PU sealants a popular choice for construction and maintenance work.
What Is PU Sealant?
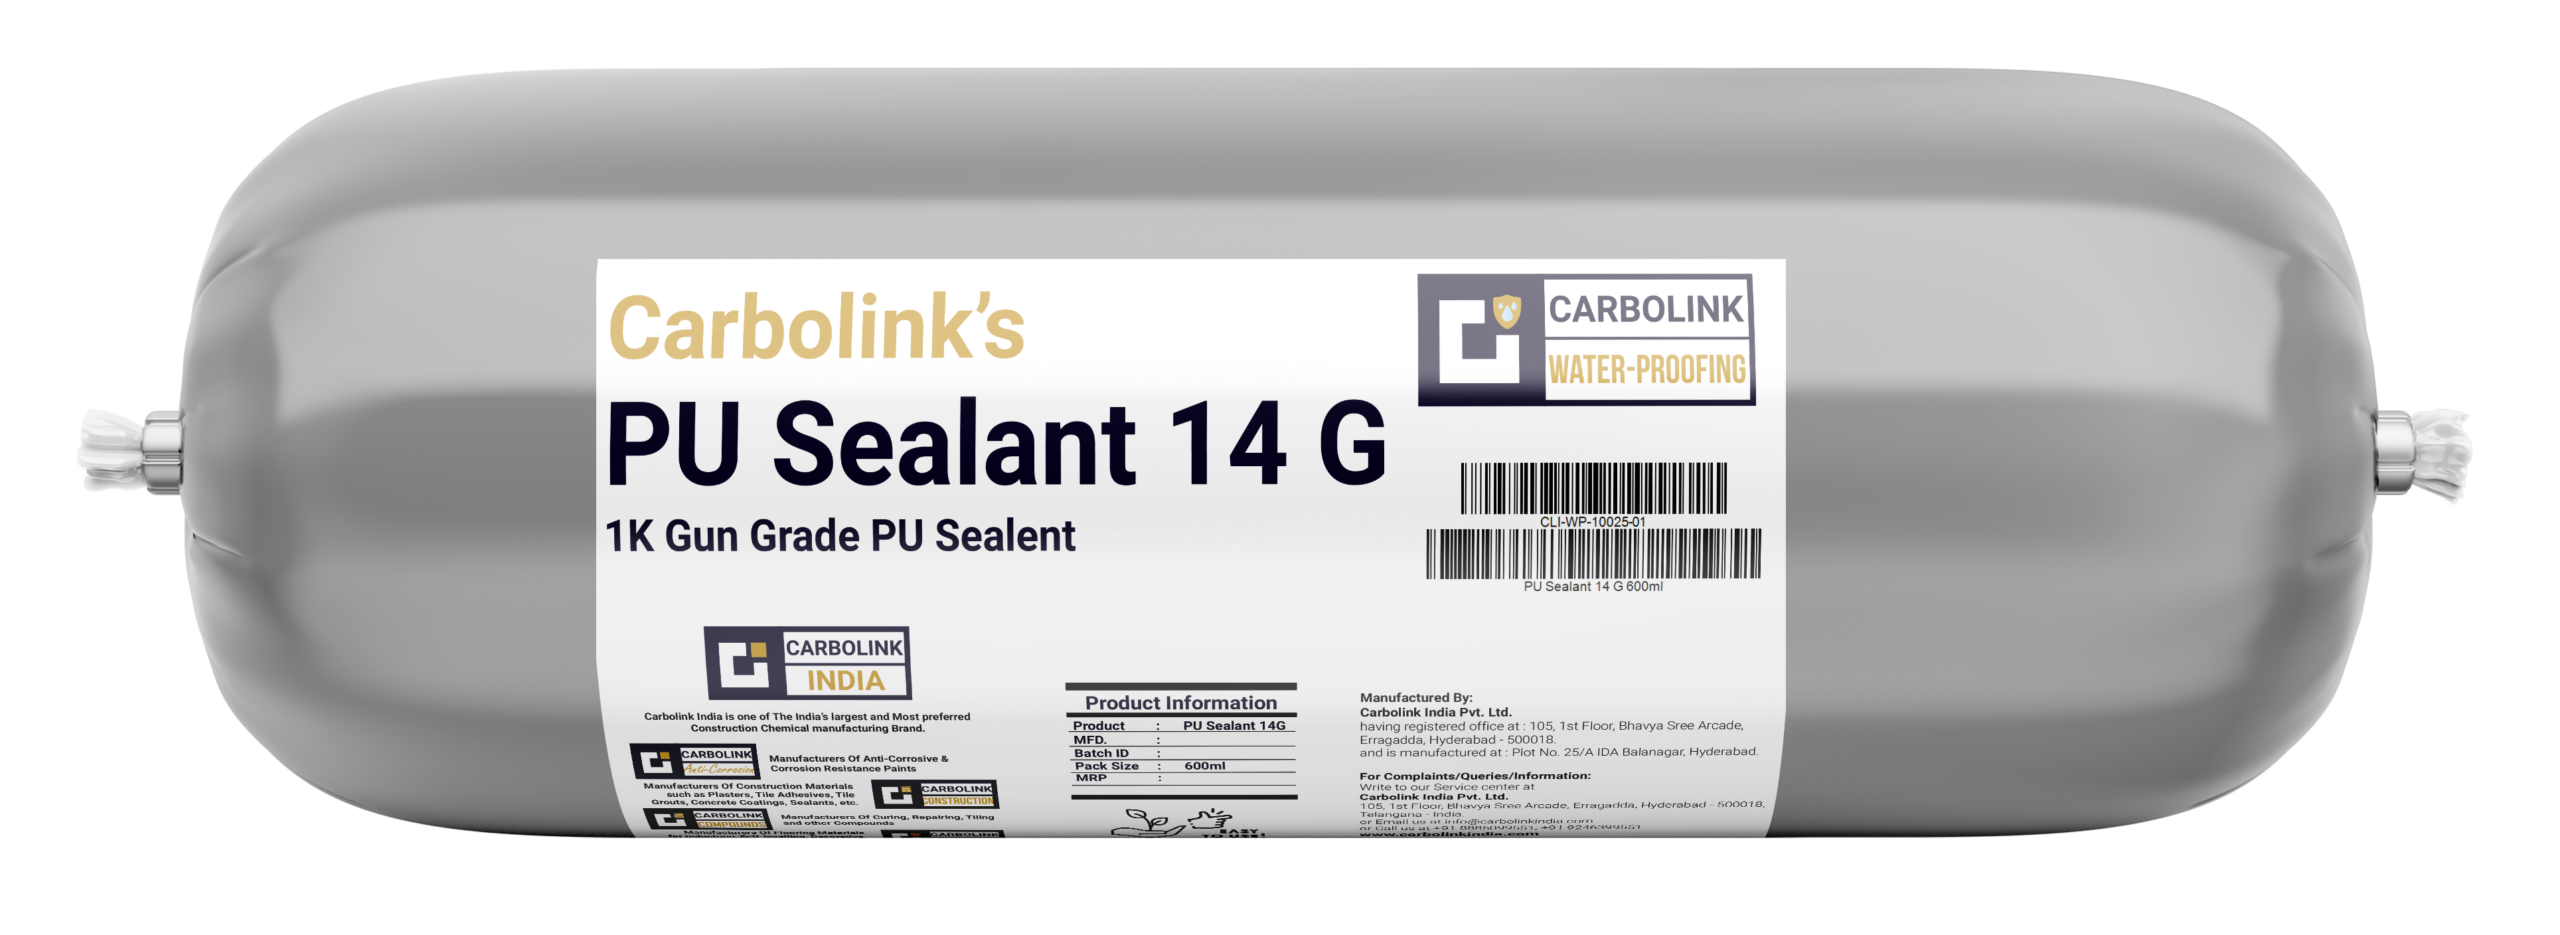
PU sealant is made from polyurethane polymers. It is generally supplied in cartridges or sausages for application with a sealant gun. Depending on the product, it cures through exposure to moisture in the air or through another specified curing process, forming an elastic seal.
PU sealants are available in different grades and formulations. Some are designed for general construction, while others are made for flooring joints, automotive work, roofing or specific industrial applications. Always check the product label and technical data sheet to confirm that a sealant is suitable for the intended use.
Common Uses
- Construction joints: Sealing movement joints in walls, floors and façades.
- Doors and windows: Sealing suitable frame-to-wall gaps against air and water ingress.
- Concrete work: Filling joints and cracks where the product is specified for concrete.
- Roofing and cladding: Sealing selected joints and connections, subject to material compatibility.
- Automotive applications: Bonding or sealing vehicle components with products formulated for automotive use.
- Industrial maintenance: Sealing joints and equipment where flexibility and adhesion are required.
Key Benefits
- Flexibility: Can accommodate movement in joints when correctly selected and applied.
- Adhesion: Bonds to many substrates, such as concrete, masonry, metal and some plastics, depending on the formulation and surface preparation.
- Durability: Suitable products can withstand weathering and everyday wear in their intended applications.
- Versatility: Available for a range of construction and industrial uses.
- Paintability: Some PU sealants can be painted after curing; confirm this on the product label and test the paint system first.
How to Apply PU Sealant
- Choose the right product: Check the sealant’s approved substrates, joint movement capability, exposure conditions and curing requirements.
- Prepare the joint: Remove old sealant, loose material, dust, oil and other contaminants. The surfaces should be prepared as instructed by the manufacturer.
- Use backing material where needed: For deeper joints, a compatible backing rod can help control sealant depth and prevent unwanted three-sided adhesion. Follow the product guidance for joint dimensions.
- Apply evenly: Cut the nozzle to the required size and apply the sealant steadily with a gun, ensuring it makes good contact with the joint sides.
- Tool the surface: Smooth the bead within the product’s tooling time using a suitable tool. Avoid using unapproved liquids or chemicals.
- Allow it to cure: Protect the joint from water, dust and disturbance for the time specified by the manufacturer. Curing time varies with product, temperature, humidity and joint size.
Important Considerations
Not every PU sealant is suitable for every surface or exposure. Some formulations may not be appropriate for constant immersion, certain plastics, natural stone or surfaces that release oils. PU sealants can also be affected by prolonged ultraviolet exposure, so check whether a UV-resistant grade or protective coating is required.
Do not apply sealant over damp, contaminated or unstable surfaces unless the product is specifically designed for those conditions. For critical joints, carry out an adhesion test and follow the manufacturer’s recommendations for primers, joint design and application temperature.
Safety and Storage
Read the safety data sheet before use. Work in a well-ventilated area, wear the recommended protective equipment and avoid contact with skin and eyes. Keep the product away from children and store it as directed on the packaging. Dispose of unused material and packaging in accordance with local requirements.
Choosing the Right PU Sealant
When selecting a PU sealant, consider the substrate, joint width and depth, expected movement, indoor or outdoor exposure, paint requirements and curing conditions. Comparing the technical data sheet with the job requirements helps ensure a reliable seal. For structural, fire-rated or otherwise safety-critical applications, use a product specifically approved for that purpose and seek advice from a qualified professional.
When the correct product is paired with sound joint design and careful surface preparation, PU sealant can provide a flexible, durable solution for many sealing tasks.
9 Essential Tips for Applying PU Sealant Correctly
- Choose a PU sealant suited to the material and application.
- Clean the joint and remove dust, grease and loose particles.
- Ensure surfaces are dry before applying.
- Use a primer if the product instructions recommend it.
- Cut the nozzle to match the joint width.
- Apply steadily with a caulking gun for an even bead.
- Tool the bead before the sealant starts to skin over.
- Wear gloves and work in a well-ventilated area.
- Allow the sealant to cure fully before exposing it to stress.
Choose a PU sealant suited to the material and application.
Choose a PU sealant suited to the material and application to help ensure strong adhesion and a durable seal. Check the product label or technical data sheet for compatibility with the surfaces, expected joint movement and exposure conditions, such as sunlight, moisture or temperature changes. Using the right formulation—and any recommended primer—can help prevent poor bonding or premature seal failure.
Clean the joint and remove dust, grease and loose particles.
Before applying PU sealant, clean the joint thoroughly to help the sealant bond effectively. Remove dust, grease, old sealant and any loose particles, as these can weaken adhesion and reduce the durability of the seal. Ensure the surface is prepared and dry as directed by the product manufacturer.
Ensure surfaces are dry before applying.
Before applying PU sealant, ensure the surfaces are completely dry, clean and free from dust, oil or loose material. Moisture can affect adhesion and may prevent the sealant from curing properly, leading to a weak or unreliable joint. Check the product instructions, as some formulations may allow application on slightly damp surfaces.
Use a primer if the product instructions recommend it.
Use a primer when the sealant manufacturer recommends it for the substrate or application. The right primer can improve adhesion and help create a more durable seal, but using an unsuitable primer may affect performance. Follow the product instructions, including guidance on surface preparation, application and drying time before applying the PU sealant.
Cut the nozzle to match the joint width.
Cut the PU sealant nozzle at an angle, making the opening slightly narrower than the joint width. This helps control the flow and place the sealant neatly without overfilling the gap. If needed, trim the nozzle a little more, as it is easier to enlarge the opening than to make it smaller.
Apply steadily with a caulking gun for an even bead.
For a neat, reliable seal, apply PU sealant steadily using a caulking gun. Keep the nozzle at a consistent angle and move it smoothly along the joint, maintaining even pressure on the trigger to create a continuous bead without gaps or excess.
Tool the bead before the sealant starts to skin over.
Tool the PU sealant bead while it is still fresh and before a skin forms on the surface. Smooth it with a suitable tool within the product’s recommended tooling time to ensure good contact with the joint sides and achieve a neat, even finish. Once the sealant begins to skin over, tooling can tear or mark the surface and may weaken the seal.
Wear gloves and work in a well-ventilated area.
When applying PU sealant, wear suitable protective gloves to help prevent the product from contacting your skin. Work in a well-ventilated area, as some sealants may release fumes during application and curing. Always follow the safety instructions on the product label and safety data sheet.
Allow the sealant to cure fully before exposing it to stress.
Allow PU sealant to cure fully before exposing it to stress, movement, water or heavy use. The curing time depends on the product, joint size, temperature and humidity, so follow the manufacturer’s instructions. Disturbing the sealant too soon can weaken its bond or affect the finish.