
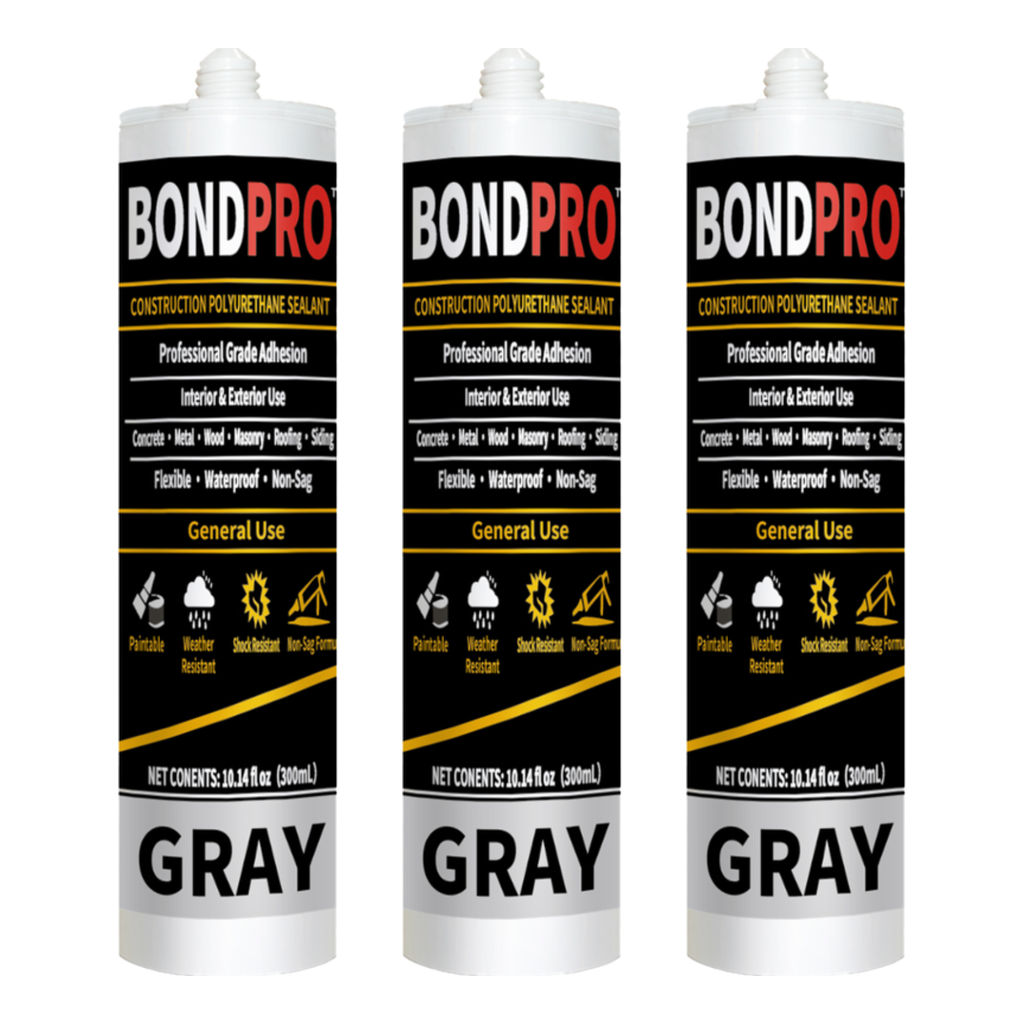
Polyurethane Sealant for Waterproofing: Uses, Benefits and Application
Polyurethane sealant is a flexible sealing material used to help prevent water and air from passing through joints, gaps and cracks. It is commonly used in construction and maintenance because it can bond to many building materials while accommodating movement caused by temperature changes, vibration or settling.
However, not every polyurethane sealant is suitable for every waterproofing job. The right product depends on the surface, joint design and level of water exposure. Always check the manufacturer’s technical data sheet before use.
What Is Polyurethane Sealant?
Polyurethane (PU) sealant is an elastic sealant that cures after application to form a durable, flexible seal. Depending on the formulation, it may be supplied as a one-component product that cures with moisture in the air, or as a two-component product that cures after its components are mixed.
PU sealants are designed for joints that may expand or contract. They are commonly used on concrete, masonry, metal, timber and some plastics, although compatibility and the need for a primer vary by product.
How Does PU Sealant Help with Waterproofing?
When correctly selected and applied, polyurethane sealant closes gaps where water could enter. Its flexibility helps the seal remain intact as a joint moves. It can therefore be useful around construction joints, window and door frames, roof details and other areas exposed to rain or occasional water contact.
A sealant is not automatically a complete waterproofing system. Large surfaces, water-retaining structures and areas subject to continuous immersion may require a dedicated waterproofing membrane or a product specifically approved for those conditions.
Common Applications
- Sealing joints in concrete floors, walls and facades
- Sealing gaps around windows, doors and building frames
- Weatherproofing selected roof joints and flashing details
- Sealing joints in precast concrete structures
- Repairing suitable cracks and gaps, as specified by the product manufacturer
- Sealing joints in some industrial and infrastructure applications
Key Benefits
- Flexibility: Helps accommodate movement in joints when the product is correctly sized and installed.
- Adhesion: Can bond to a range of common construction materials, subject to surface preparation and product compatibility.
- Weather resistance: Many formulations are designed for outdoor exposure, but UV and weathering performance should be confirmed for the specific product.
- Durability: A properly designed and maintained seal can provide long-lasting protection.
- Versatility: Available in formulations for different joint widths, substrates and service conditions.
How to Apply Polyurethane Sealant
- Choose the right product: Check that it is suitable for the substrate, joint movement and expected exposure to rain, standing water or immersion.
- Prepare the joint: Remove dust, loose material, oil, old sealant and other contaminants. The surface should meet the product’s requirements for dryness and cleanliness.
- Use backing material where required: A backing rod can help control sealant depth and prevent unwanted three-sided adhesion. Follow the specified joint design.
- Apply the sealant: Use a suitable applicator to fill the joint consistently, avoiding air pockets.
- Finish the surface: Tool the sealant as directed before a skin forms. Use only approved tooling methods and materials.
- Allow it to cure: Protect the joint from rain, dust and disturbance for the period stated by the manufacturer. Curing time can vary with temperature, humidity, joint size and product type.
Important Precautions
- Do not assume that a general-purpose PU sealant is suitable for permanent immersion or water pressure.
- Test adhesion and compatibility on a small area, especially on painted, coated or plastic surfaces.
- Use a primer if the manufacturer recommends one for the substrate.
- Follow the stated application temperature, joint dimensions and curing conditions.
- Wear suitable protective equipment and ensure good ventilation during application.
- For structural joints or complex waterproofing work, consult a qualified professional.
Polyurethane Sealant vs Waterproofing Coating
Polyurethane sealant is generally used to seal joints and gaps. A waterproofing coating or membrane is designed to protect a broader surface. Some projects need both: a compatible joint sealant at movement joints and a separate waterproofing system across the surrounding area. The products should be selected as a compatible system where possible.
Frequently Asked Questions
Is polyurethane sealant waterproof?
Many PU sealants are designed to resist water after they have cured, but their performance depends on the formulation and installation. Check whether the product is suitable for the particular exposure, especially if water may remain in contact with it continuously.
Can PU sealant be used outdoors?
Many products are suitable for outdoor joints, but resistance to sunlight, rain and temperature changes varies. Select a product specifically rated for exterior use.
Can polyurethane sealant be applied to wet surfaces?
Some formulations may tolerate limited surface moisture, while others require a dry surface. Follow the manufacturer’s instructions rather than applying the product to a wet surface by default.
How long does PU sealant take to cure?
Curing time varies by product, temperature, humidity and joint dimensions. Follow the technical data sheet and avoid exposing the joint to water or movement before the recommended time.
Conclusion
Polyurethane sealant can be an effective option for waterproofing joints and gaps when the product is matched to the application and installed correctly. Careful surface preparation, correct joint design and adequate curing are essential. For continuous water exposure or full-surface protection, use a waterproofing product designed for those conditions rather than relying on a general-purpose sealant alone.
9 Essential Tips for Waterproofing with Polyurethane Sealant
- Choose a polyurethane sealant rated for exterior waterproofing.
- Check that it suits the surface, such as concrete, metal or wood.
- Clean and dry the joint before applying the sealant.
- Remove dust, oil and loose material for better adhesion.
- Use masking tape for neat edges.
- Apply the sealant evenly with a caulking gun.
- Smooth the bead before a skin forms.
- Allow the full curing time before exposing it to water.
- Wear gloves and ensure good ventilation while applying.
Choose a polyurethane sealant rated for exterior waterproofing.
Choose a polyurethane sealant specifically rated for exterior waterproofing to help protect joints from rain, moisture and changing weather conditions. Check the product label and technical data sheet to confirm it is suitable for the surface, expected joint movement and level of water exposure. Applying the right product to a clean, properly prepared surface will help create a durable seal.
Check that it suits the surface, such as concrete, metal or wood.
Before applying a polyurethane sealant, check that it is compatible with the surface, whether it is concrete, metal or wood. Different materials may require specific sealant formulations or a primer to ensure good adhesion and a durable waterproof seal. Always follow the manufacturer’s instructions and test the product on a small, inconspicuous area if compatibility is uncertain.
Clean and dry the joint before applying the sealant.
Before applying polyurethane sealant, clean the joint thoroughly to remove dust, loose particles, grease and old sealant. Ensure the surface is dry, unless the product instructions specify otherwise. A clean, properly prepared joint helps the sealant adhere effectively and form a reliable water-resistant barrier. Always follow the manufacturer’s guidance for surface preparation.
Remove dust, oil and loose material for better adhesion.
Before applying polyurethane sealant, clean the joint thoroughly to remove dust, oil, grease and loose material. A clean, sound surface helps the sealant bond properly and form a more reliable barrier against water. Follow the product instructions for surface preparation, including any drying time or primer requirements.
Use masking tape for neat edges.
Use masking tape on both sides of the joint before applying polyurethane sealant to create clean, even edges and protect nearby surfaces. Apply the sealant, smooth it as recommended by the manufacturer, and remove the tape while the sealant is still fresh. This helps prevent ragged edges and gives the finished joint a neat, professional appearance.
Apply the sealant evenly with a caulking gun.
Apply polyurethane sealant evenly using a caulking gun, keeping a steady pace and consistent pressure on the trigger. Aim the nozzle into the joint so the sealant fills it fully, without gaps or air pockets. Smooth the bead as recommended by the manufacturer, then allow it to cure for the specified time before exposing it to water.
Smooth the bead before a skin forms.
Smooth the polyurethane sealant bead soon after application, before a skin forms on the surface. Use a suitable tooling method recommended by the manufacturer to press the sealant evenly into the joint and create a neat finish without gaps or air pockets. Once the surface begins to skin over, tooling may tear or damage the seal, reducing its ability to keep water out.
Allow the full curing time before exposing it to water.
Allow polyurethane sealant to cure fully before exposing it to water. Although the surface may feel dry, the sealant can still be curing beneath it, and early contact with water may affect its adhesion or waterproofing performance. Follow the manufacturer’s instructions for the recommended curing time, as it can vary with the product, joint size, temperature and humidity.
Wear gloves and ensure good ventilation while applying.
Wear suitable gloves when applying polyurethane sealant to help prevent it from coming into contact with your skin. Work in a well-ventilated area, as recommended by the product manufacturer, and follow all safety instructions on the label.